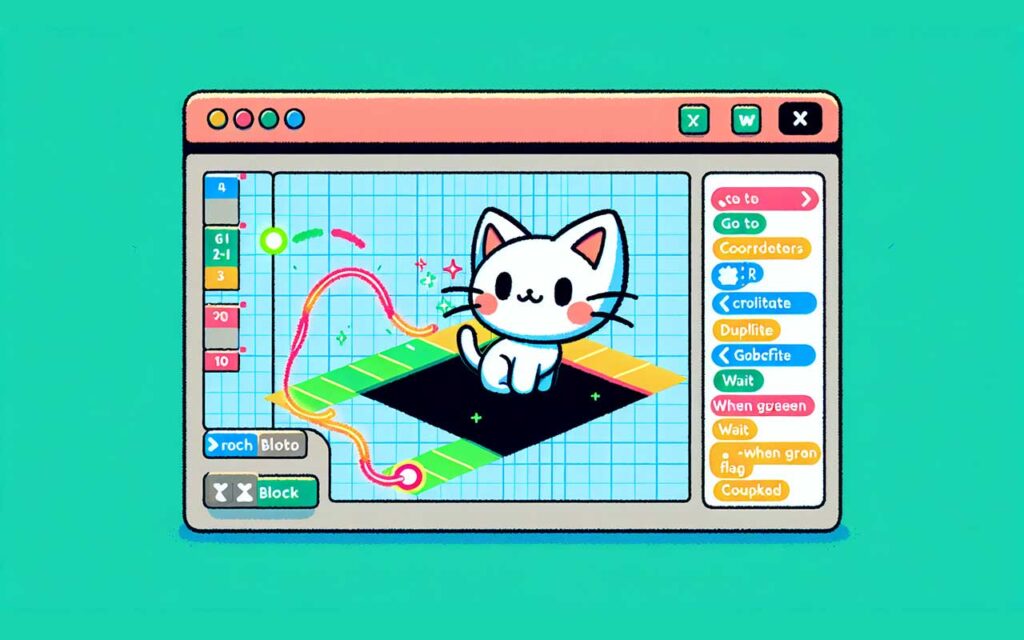
Welcome to the first task in our exciting series on learning the Scratch programming language! Scratch is a free, fun, and easy way to learn programming concepts. Unlike most programming languages that require writing code, Scratch uses a block-based approach, allowing learners to select and assemble blocks to create their programs. This makes it an ideal starting point for beginners. In this post, we will walk through the steps to complete the first task, which focuses on creating shapes.
Table of Contents
Getting Started with Scratch
Before diving into the tasks, make sure you have Scratch opened and ready. If you need to refer to instructions, feel free to pause the video or this guide at any time. Don’t forget to subscribe to stay updated on future lessons!
Choosing a Backdrop
To kick things off, the first command is to choose a backdrop. Navigate to the bottom right corner of the Scratch interface and click on “Choose a Backdrop.” Select the library option, where you will find various backgrounds. For this task, we want the x-y grid backdrop, which helps visualize coordinates. After selecting it, you will see it appear in the sprite area alongside our cat character.
Moving the Cat
Next, let’s move our cat! When we drag the cat around the screen, we notice the coordinates change. The upper right corner shows positive coordinates, while the bottom left shows negative ones. This is a fantastic way to understand how coordinates work in Scratch.
To demonstrate this, use the “Go To” block. We will set it to move the cat to coordinates (100, 100). This is done by dragging the block from the left panel and typing in the values. Once you click this block, you’ll see the cat jump to the specified location.
Duplicating Blocks
Now, let’s duplicate our blocks. Right-click on the block you want to copy, and a menu will appear. Choose the duplicate option, allowing you to create a second block. You can now connect these blocks to create a sequence of commands. For example, let’s make the cat move in a square pattern!
Adding Timing
To make sure the cat moves at a visible speed, we need to add timing. Go to the control block section and find the “Wait” block. Change the default time from 1 second to 0.2 seconds, and insert it between your movement blocks. This will create a delay, allowing you to see the cat move in a square instead of zipping around too quickly.
Using Events
Scratch also allows for interactive programming through events. Instead of manually clicking blocks, we can use the “When Green Flag Clicked” event. This means that when you click the green flag at the top of the screen, the program will start running automatically. This is a great way to trigger your sequence and see the cat move around the square!
Introducing the Pen
Now, let’s make our program more visual by using the pen feature. If you don’t see the pen option, you can add it by clicking on “Extensions” and selecting “Pen.” This will provide you with new blocks to use. Start with the “Pen Down” block and set the pen size to 10. Add this block before your movement blocks. Now, when you run the program, the cat will draw a square!
Changing Colors
To add even more creativity, let’s change the pen color. Use the “Set Pen Color To” block and place it after the “Erase All” block. You can choose a color from the palette or use the eyedropper tool to select a color from the screen. For this example, let’s use red. Now, when you click the green flag, you’ll see a red square being drawn!
Final Touches
To wrap up this task, let’s return the cat to the center of the screen and change the backdrop to stars. Scroll down to find the stars backdrop and select it. When you run the program again, the cat will draw a red square against a starry background. However, you might notice a line where the cat started. To fix this, use the “Pen Up” block before moving the cat to the starting position.
Exploring More Shapes
Now that you have completed the basic square task, let’s explore how to draw different shapes by changing angles. Instead of moving in a square, we can use the “Move Steps” block to move the cat a larger distance, such as 200 steps, and change the angle with the “Turn” block. For instance, turning 90 degrees after each move will create a square, while turning a different angle can create triangles or circles.
To create a triangle, set the turn angle to -120 degrees. For a circle, use a small angle, such as 2 degrees, and a small step count. By experimenting with these angles and steps, you can create various shapes!
Conclusion
Congratulations on completing the first task in our Scratch programming series! You’ve learned how to create shapes using Scratch’s block-based programming. Remember, the key to mastering programming is practice, so feel free to play around with the blocks and see what other shapes you can create. If you enjoyed this lesson and want to learn more about Scratch or other programming languages, please subscribe and hit the notification bell!
FAQ
What is Scratch?
Scratch is a block-based programming language designed for beginners, allowing users to create interactive stories, games, and animations without needing to write traditional code.
Is Scratch free to use?
Yes, Scratch is completely free to use and can be accessed through its website.
Can I use Scratch on mobile devices?
Scratch is primarily designed for desktop use, but there is a ScratchJr version available for younger children on tablets.
What age group is Scratch suitable for?
Scratch is suitable for children aged 8 and up, but younger children can also use ScratchJr to learn basic programming concepts.
How can I further my learning in programming?
After mastering Scratch, you can explore other programming languages such as Python or JavaScript, which build on the concepts you’ve learned in Scratch.

